NutriAdmin allows you to create, store, and manage a collection of recipes. You can use the recipes feature for mainly two purposes:
- To store and keep organized your recipes over time, so that you can download them with 1 click when you need to hand them in to a client
- To add your recipes to meal plans.
This article covers how to create a recipe in NutriAdmin.
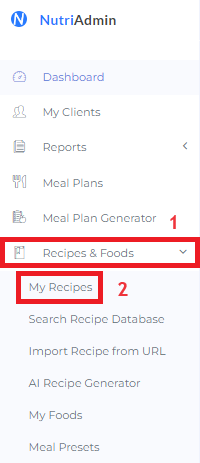
Step 1: Click on Recipes & Foods then My Recipes.
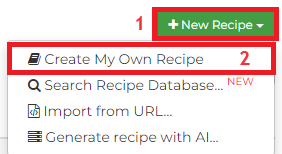
Step 3: Click on New Recipe.
You will get 4 options: to create your own recipe, to search the recipe database, to import from url, or generate recipe with AI. The first option lets you start a recipe from scratch, whilst the second option lets you search for ideas and edit the recipes you find. The third option is to copy a recipe from a website. The fourth option is the AI recipe generation feature with automatic nutritional analysis, photography, ingredients, and cooking instructions.
Searching the recipe database is a feature available if you are on the "popular" plan or higher. Generating a recipe with AI can be an add on to your plan. For more information, please check our pricing page.
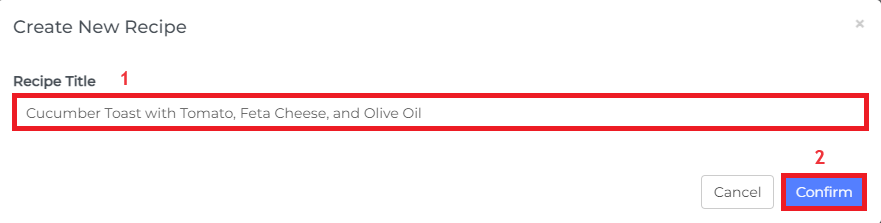
Step 4: After clicking, you will see a screen like the one below. You can type in the Recipe Title then click Confirm.
Step 4: Let's start by adding an image to your recipe. To do so, click the Image tab. You have the option to drag and drop an image or click to browse files to add your image.
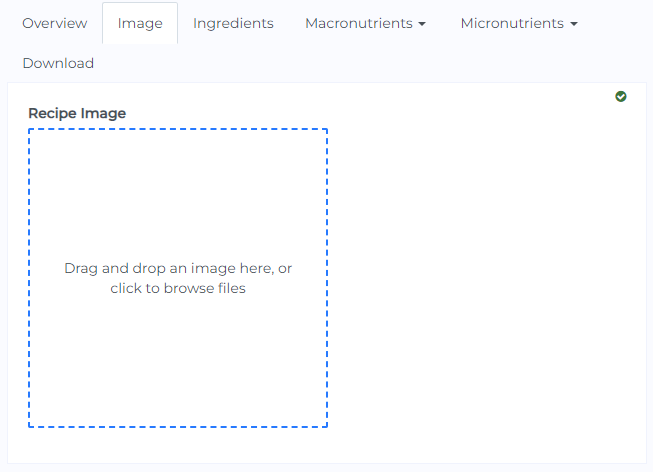
This is how it would look like:
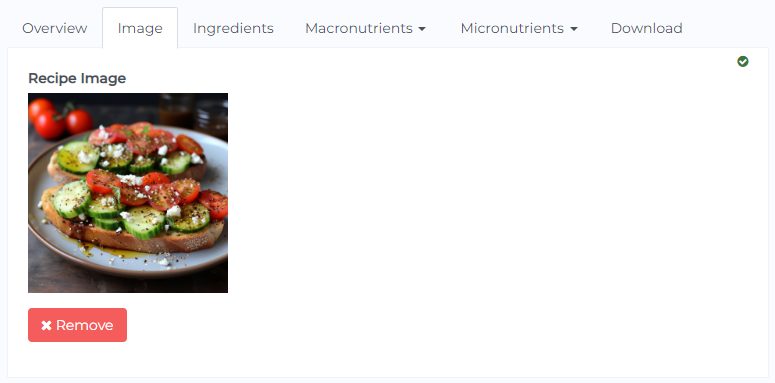
When you click on upload, your browser will let you choose a picture from your computer to upload. Please take into account there are restrictions on what kinds of images you can upload.
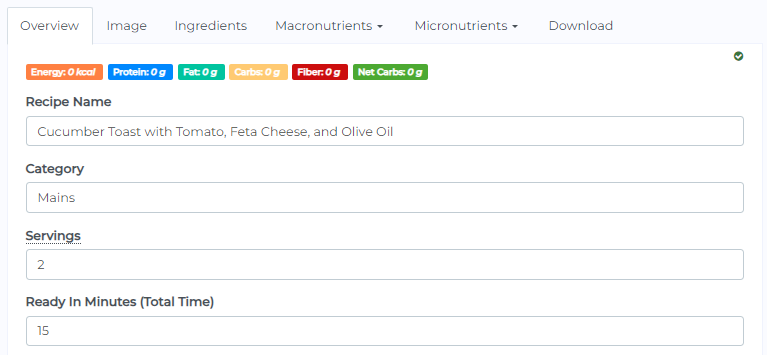
Step 5: The next step is to add a name and basic information for your recipe. You can enter the name, total time for preparation, and number of servings for your recipe as shown below.
The energy and macros per serving are automatically calculated and shown on top as seen in below. In this example, it shows zero since I haven't added any ingredients yet.
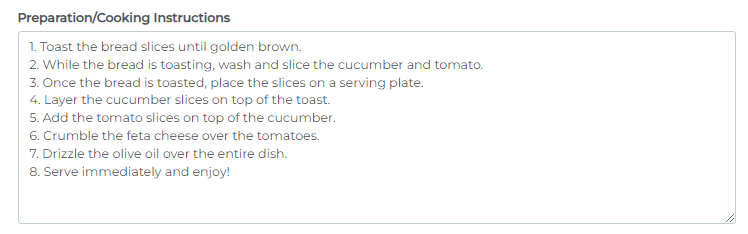
Step 6: Add instructions to your recipe. These should be a series of steps that will help your clients in preparing your recipe. You can use any format you want for these instructions. Many users find it practical to list steps for preparation. Below is an example.
Step 7: You can optionally add any extra comments or the source url for your recipe if you want to provide attribution.

Adding ingredients
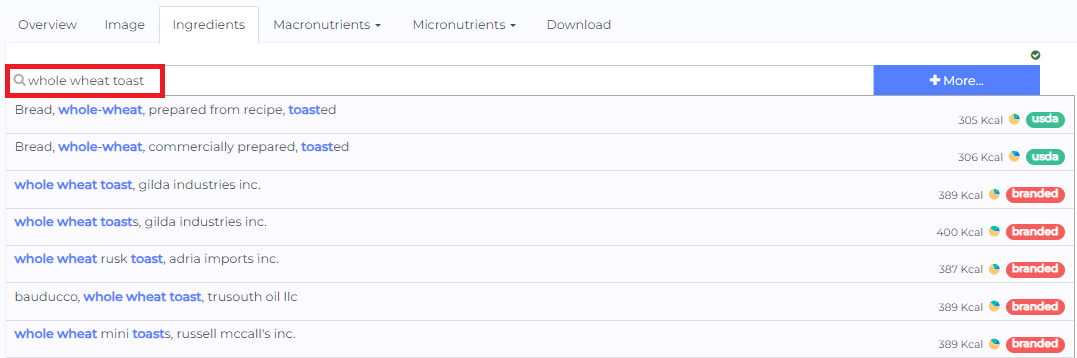
Step 1: Click on the Ingredients tab at the top of the recipe editor to add and customize ingredients.
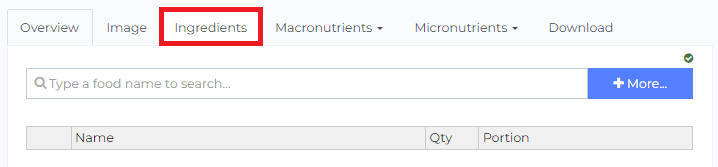
Step 2: Type in the search bar to query the food databases. You can click on any result to add it to the recipe.
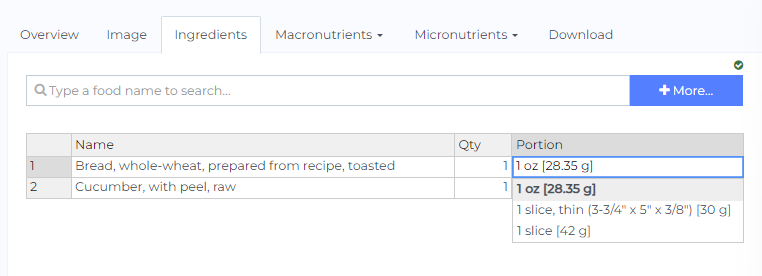
Step 3: Once an item is added, click on the portion dropdown menu to change the quantity. You can also rename the food or change its quantity.
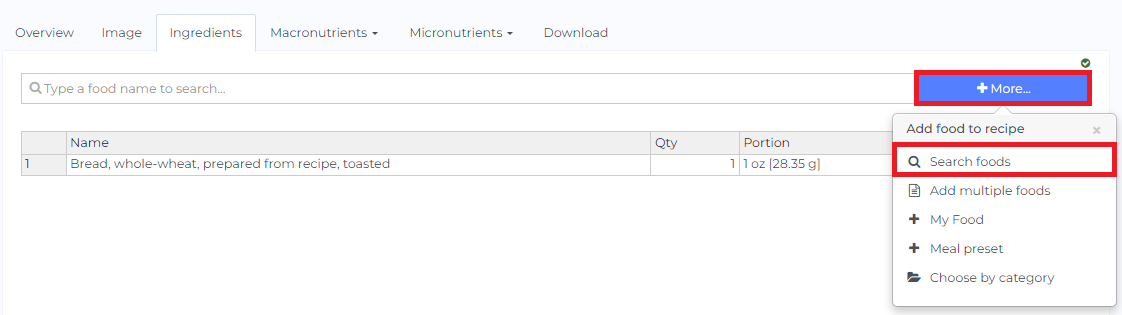
Step 4: For more options to add items to the recipe, click the More button. You can perform an advanced search for foods and more.
Other considerations
You can click the different tabs to check different aspects of your recipe.
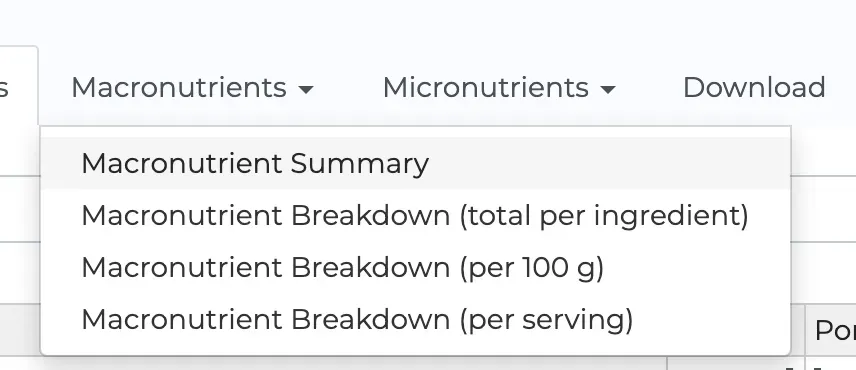
Macronutrients tab: You can see a macronutrient breakdown of your recipe in this tab.
Micronutrients tab: The micronutrient content of your recipe is shown here.
Download Tab: You can see how your recipe will look like once downloaded as a PDF. You also have the option to select which sections to include in your PDF download.

Additional notes: your logo will be added to recipes automatically. If you need to change it, follow the instructions on this article.
Changes are saved automatically as you edit your recipe.
Now that you have created and saved a recipe, you can download it as a PDF anytime, and you can come back to it by finding it under the Recipes menu on the left hand side of your screen (Step 1 on this guide).
Next, follow the steps on this article if you want to learn how to add your recipes to a meal plan:
https://nutriadmin.com/docs/how-to-add-your-own-recipes-to-a-meal-plan