This short tutorial will show you how to add an image to your report templates.
Step 1: Open any report. Either an existing one, or a new report. Either case is fine.
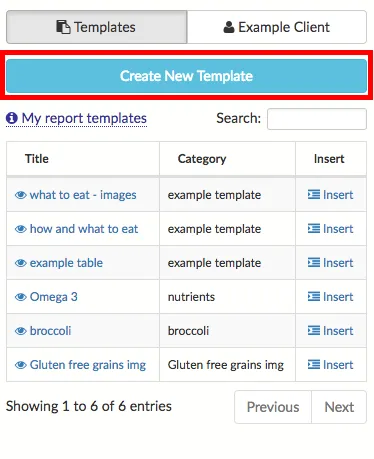
Step 2: Click on Create New Template (or edit an existing template if you prefer).
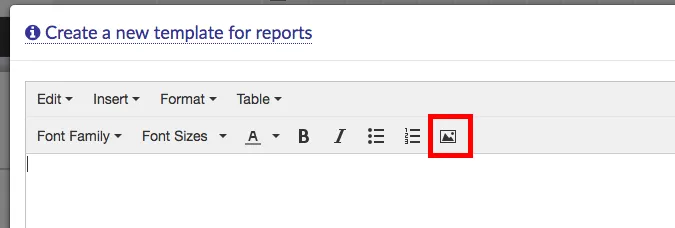
Step 3: On the template window, click on the image icon.
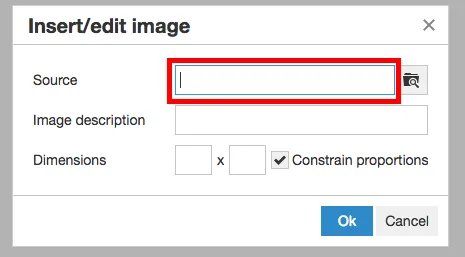
You will get the Insert/edit image window.
Step 4: On the Insert/edit image window, you have 2 options for adding an image. The first option is to add the url to a web image on the source field.
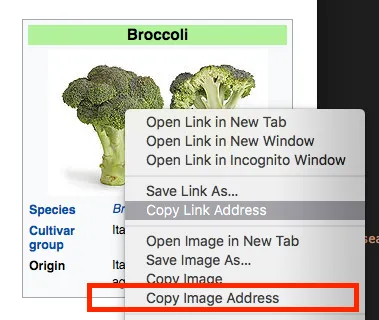
You can obtain the url of any image in the web by right clicking an image with your mouse, then selecting copy image address (or similar wording).
For example, if you go for the Wikipedia page for Broccoli, you can right click the article's image, and copy it's image address.
In the example with broccoli, after selecting copy image address, your clipboard will contain the following link:
https://upload.wikimedia.org/wikipedia/commons/thumb/0/03/Broccoli_and_cross_section_edit.jpg/220px-Broccoli_and_cross_section_edit.jpg
You will notice the ending of the link is .jpg. That's because this is a link to an image. You can copy/paste a link for any image on the source field like shown below:
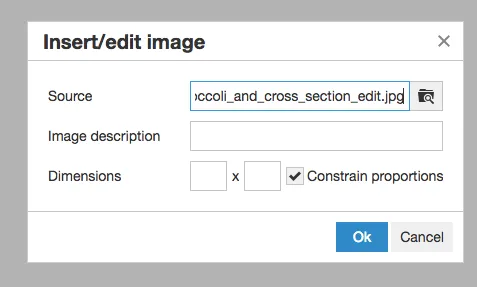
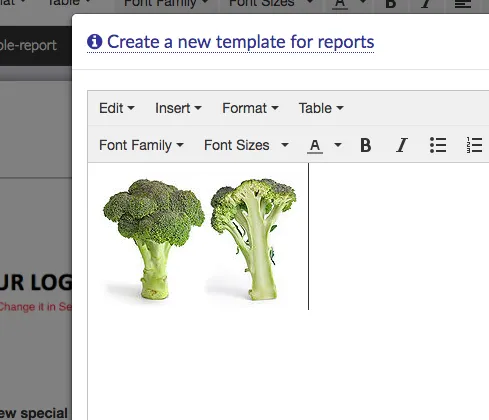
Clicking OK will add your image to the template.
Uploading an image to NutriAdmin
The second option for adding images to your templates is by uploading image files from your computer.
If you click on the local file lookup icon (highlighted below), you will have the chance to upload one of your local images to NutriAdmin.

However, you should be aware there are restrictions on which kinds of files you can upload. You can read more details on the article below:
https://nutriadmin.com/docs/what-to-do-when-nutriadmin-does-not-let-you-upload-a-picture-for-a-report-or-template.
It is recommended you link images copying their image address from the web, and adding them to your templates when you can, since this will remove the restrictions on file size applied when trying to upload large files.