NutriAdmin allows a few options for grouping ingredients in a shopping list. The options allow you to:
- Group ingredients by portion size (e.g. provide just the total grams/oz), or differentiate between different portion sizes
- Group ingredients by food alias or differentiate between food alias
How to change the shopping list display options
To change the display options for the shopping list follow these steps:
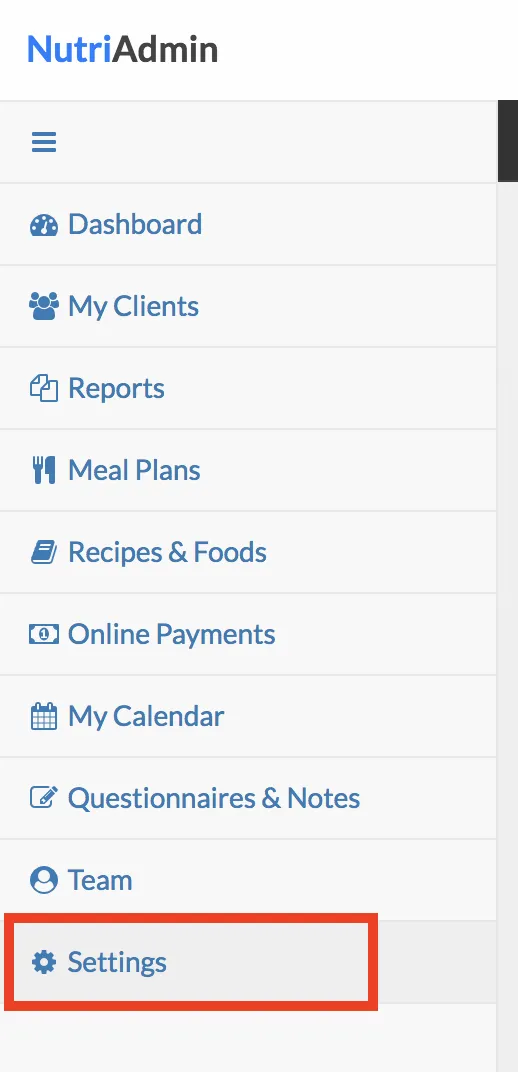
Step 1: Click on Settings on the left-side menu

Step 2: Click on the Meal Plans, Recipes, & Foods tab.

Step 3: Scroll down until you find the section for shopping list display options as shown in the screenshot below. Change the settings as you please.

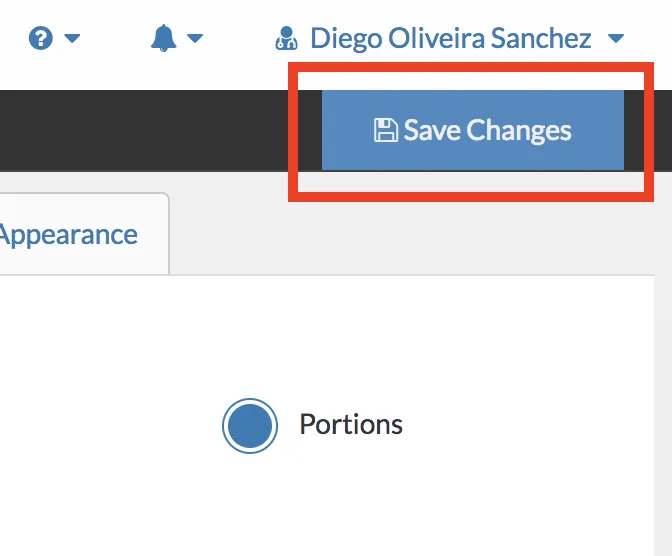
Step 4: Click Save Changes on the top-right corner of the screen.

What are the different options
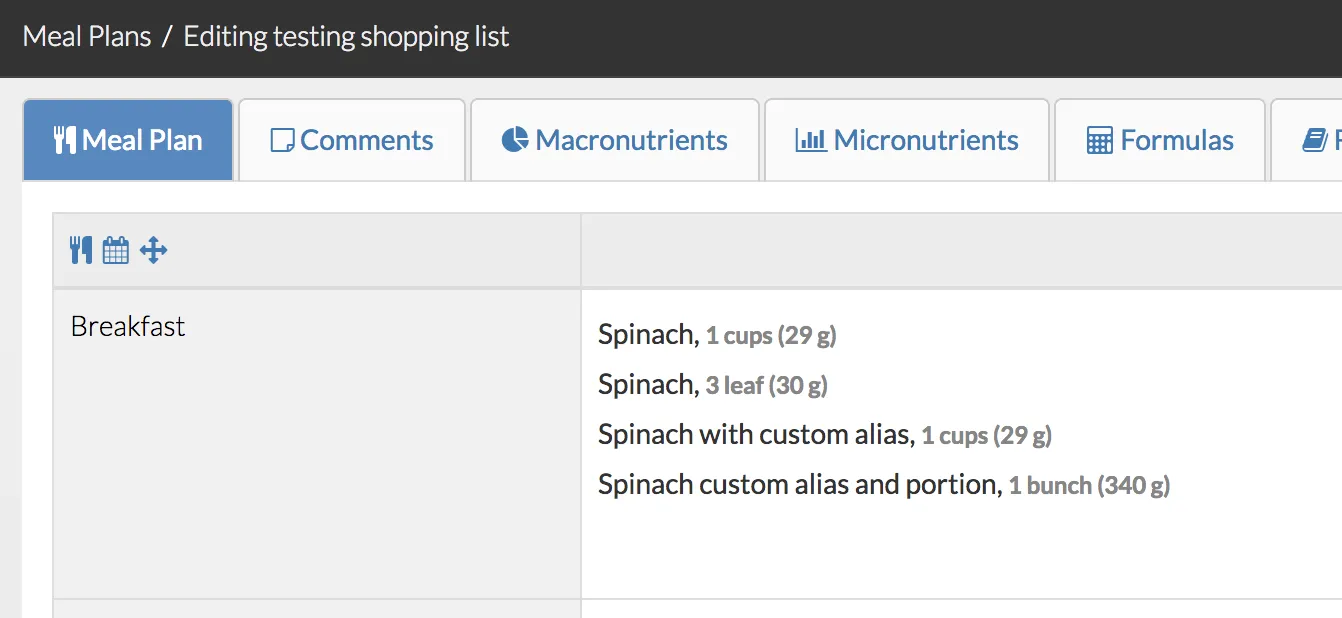
To illustrate how different food items show up in the shopping list depending on the options selected above, here is an example. For this example, we will use a sample meal plan that has Spinach four times, with different names/aliases, and different portion size combinations:

Case 1.
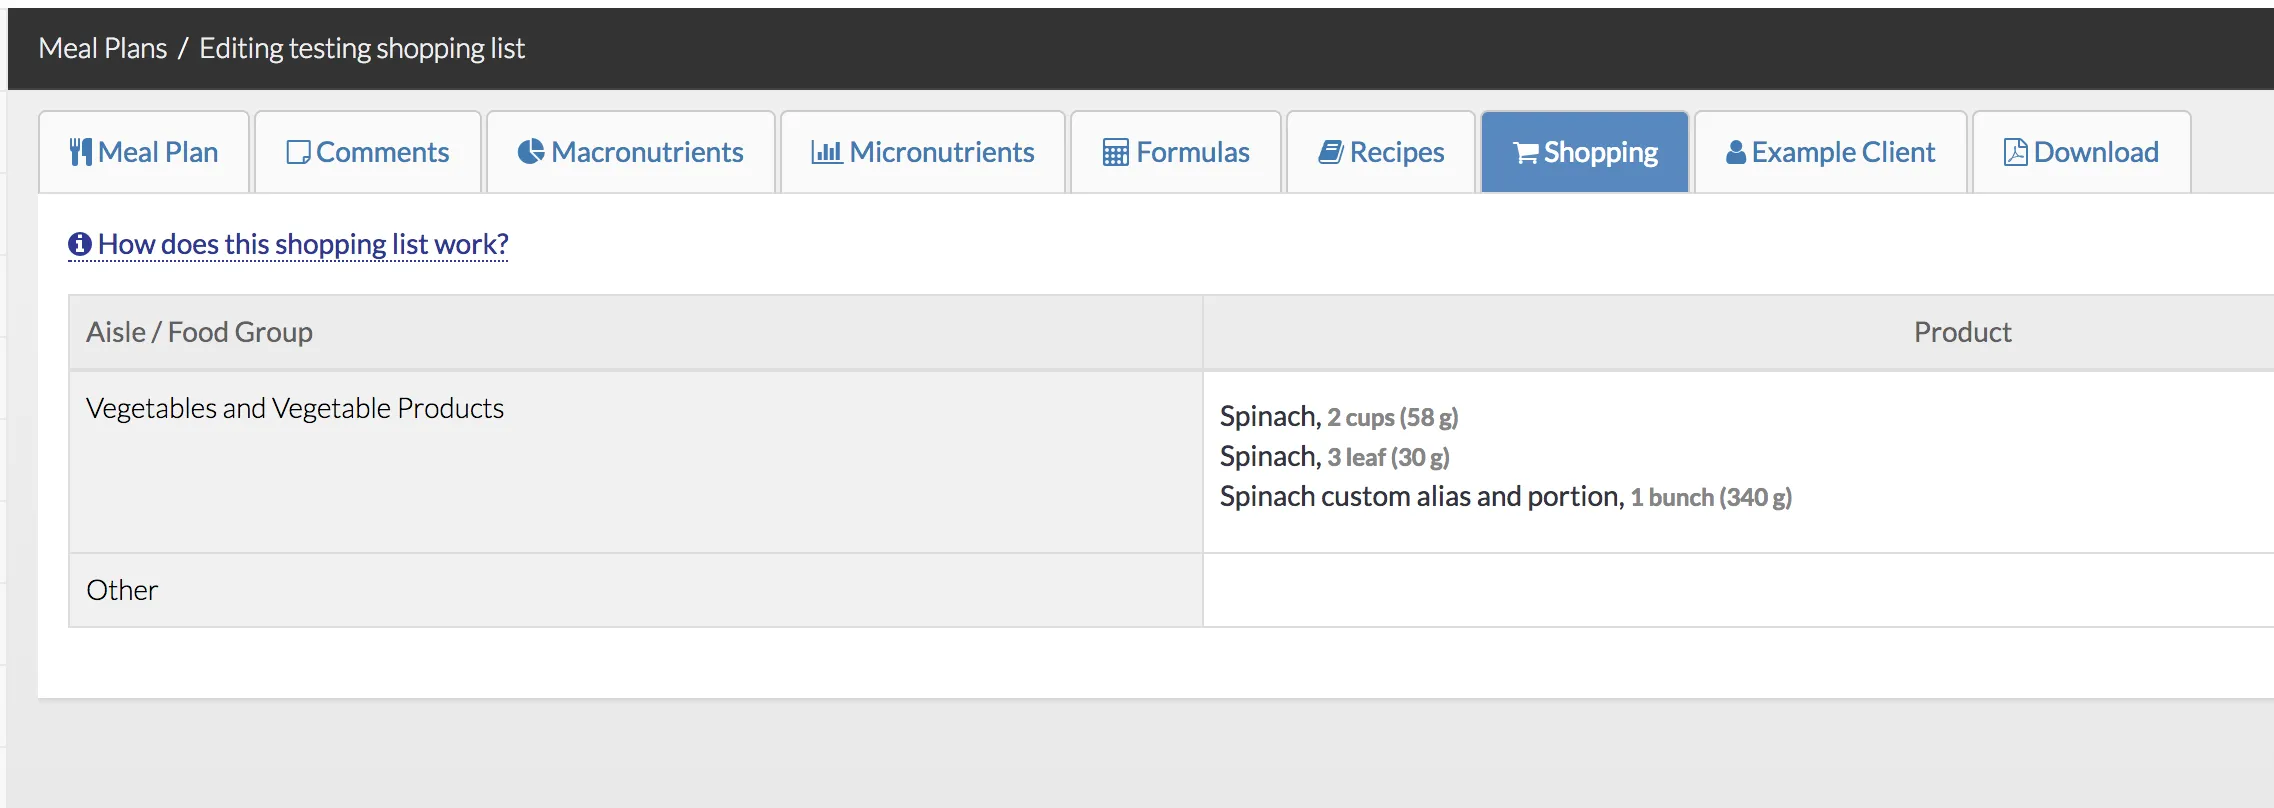
When using the default options for display, e.g. to group foods of the same alias and differentiate by portion size, this is how the settings and the shopping list look like:


As you can see, there are 2 cups of Spinach because the items:
- Spinach, 1 cups
- Spinach with custom alias, 1 cups
where combined into just Spinach, 2 cups.
All the other instances of spinach show separately in the shopping list because they have different portion sizes (e.g. 3 leaf and 1 bunch).
Case 2.
When using the option to group together foods with the same portion size, and also to group foods with the same alias, this is how the settings and the shopping list look like:


Now all the instances of Spinach are grouped together regardless of ingredient alias and/or food portion. The total number of grams is shown instead. If you've chosen ounces instead of grams as your default unit in the settings, then the total number of ounces will be shown instead.
Case 3.
You may opt to group portions and differentiate by food alias. Here is how the settings and shopping list would look like in this scenario.


Case 4.
Finally, if you distinguish portions and alias as well, here is how the shopping list would look like.

About recipe servings in the shopping list
There is another option to customize your shopping list. By default, the shopping list will calculate the exact amount for the ingredients required to prepare your meal plan. E.g. if you have a recipe to prepare 10 muffins, but the recipe only contains 2 muffins, then the shopping list will show the ingredients for 2 muffins.
On the other hand, if you choose "calculate total servings to prepare whole recipes", then the shopping list will show the ingredients for the full 10 muffins. This can be useful if you want your client to prepare a large badge for recipes, then freeze the portions not consumed within the weekly meal plan, for example.

If none of the shopping list formats works for you
As a workaround, if you are not satisfied with any of the available shopping list formats, you could choose to group everything then:
- Finish your meal plan
- Select the contents of the shopping list with your mouse
- Copy (e.g. ctrl+C or cmd+C in your keyboard)
- Paste the shopping list in the "comments" section of your meal plan
- Make the necessary edits (e.g. change the amounts or clarify any inconsistencies)
- When you generate the final pdf, untick the box for "shopping list" since you are already including your version in the comments.
This involves more work but it will give you the most control. For best results, try doing this when you have finished your meal plan, since otherwise, the shopping list may get out of sync with the actual meal plan (e.g. if you finish the shopping list in the comments, and then you add a new item to the meal plan, you will have to remember to manually edit this into your list).