When you create a widget for appointments and payments, you need to create working schedules and payment services first. The working schedules is needed for the clients to choose appointment slots based on your availability. The payment services on the other hand is needed for them to choose the appropriate services for them to pay online. If this information is not provided, the widget won't give you these options.
Creating a web widget in NutriAdmin is easy. Please follow the steps below, or have a look at the following Youtube screencast demonstrating how to configure a widget.
Watch video tutorial on YouTube
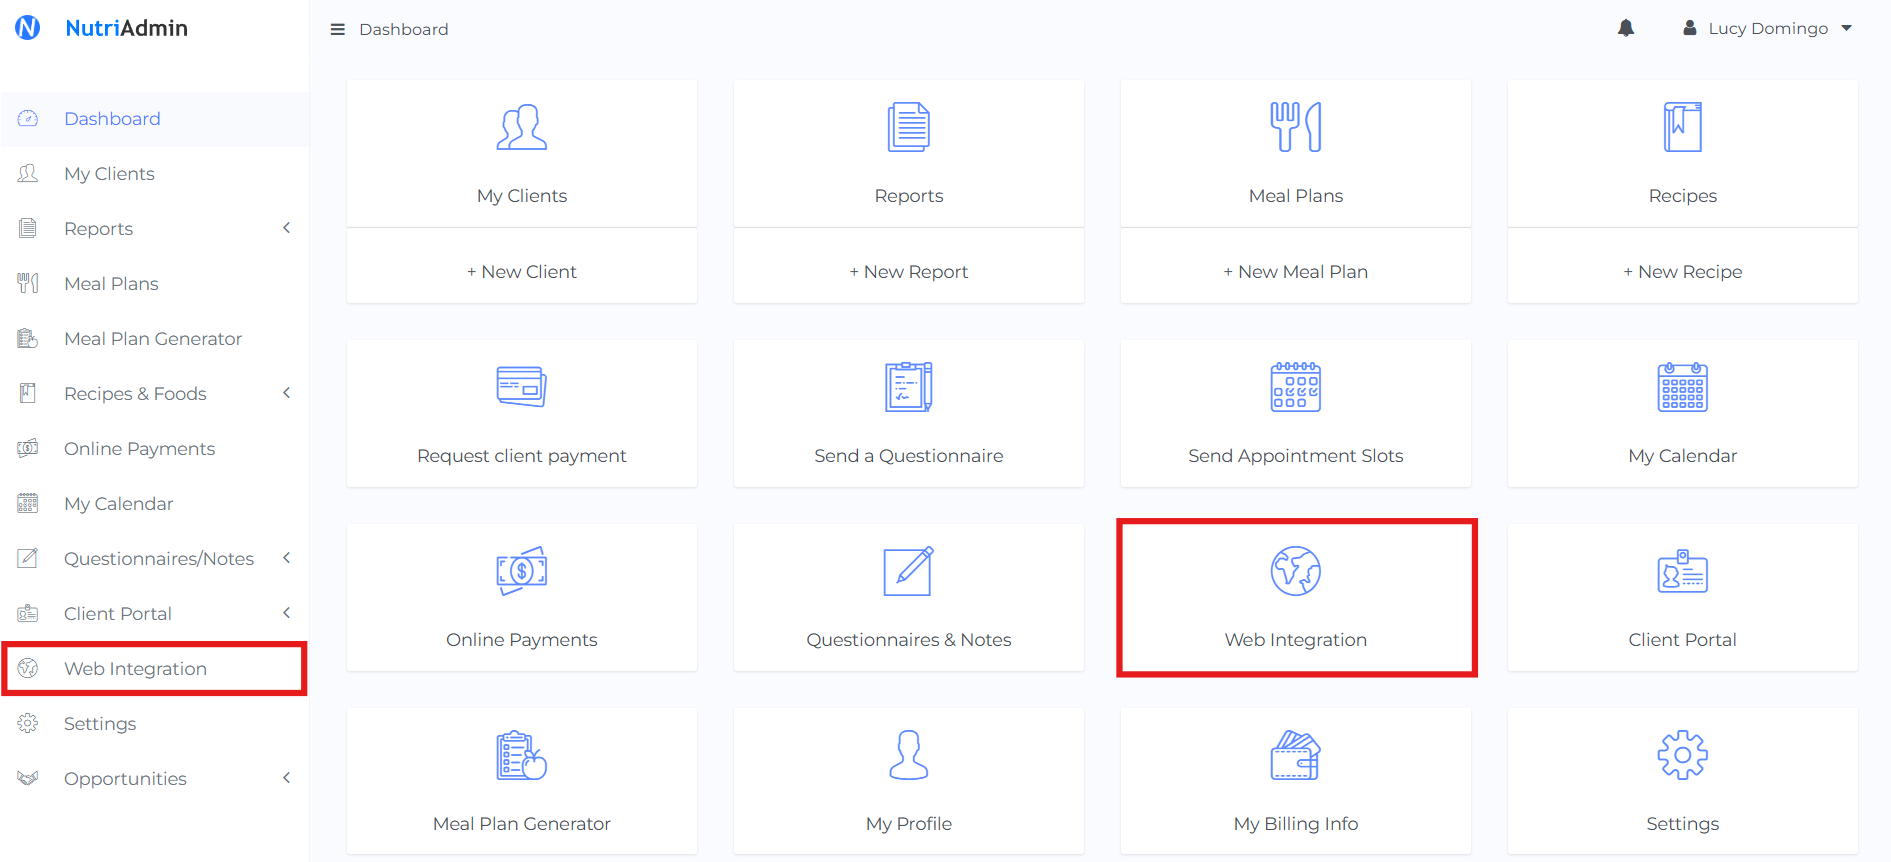
Step 1: Click on Web Integration on the left-side menu or on the options in your dashboard.
Step 2: Click on New Web Widget on the top-right to start creating your web widget.

Step 3: Fill in the form in the modal window to configure your widget.
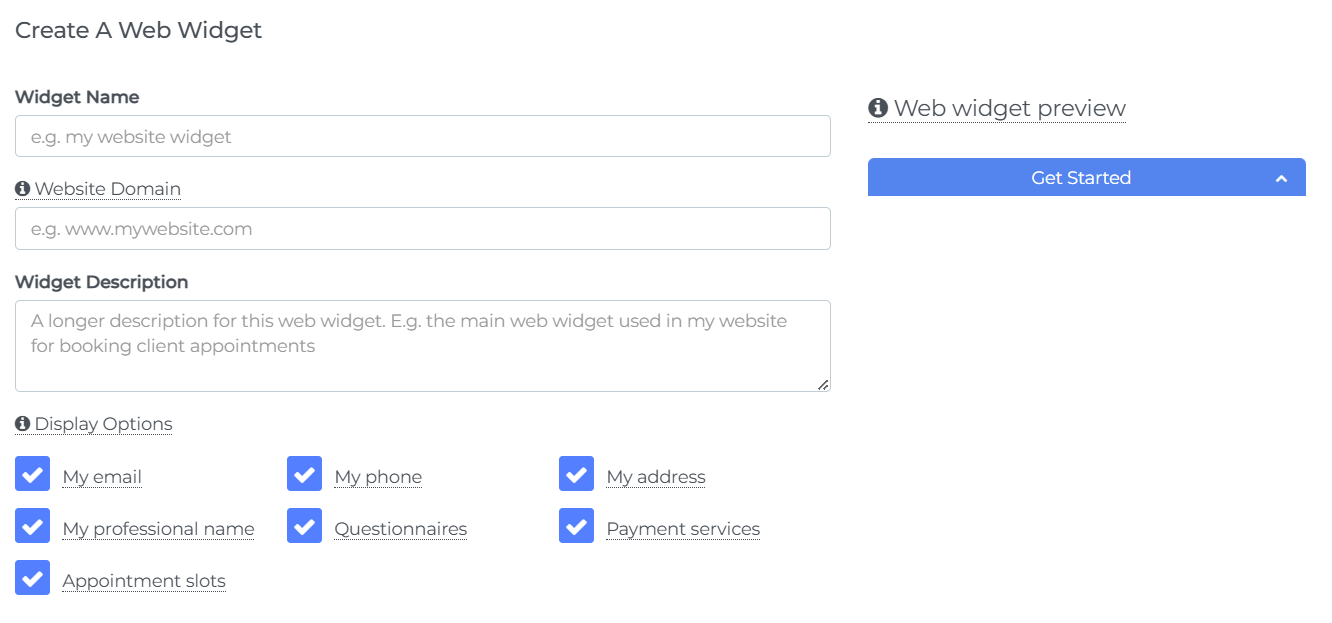
You need to make sure you enter the domain for your website correctly, as the widget will only work in the website configured here. This is for security reasons, so that nobody else can use your widget in a different domain. You can change this field later if you make a mistake.
Regarding display options, you need to select at least 1 questionnaire below if you have ticked the box for "questionnaires" in the "display options" section. The same is true for payment services and appointment slots.
Finally, you can tweak all the settings of the widget, and see an interactive preview of how the widget would look like on the right. You can click the widget to play around with the functionality.