This article explains how to create and manage different kinds of services in NutriAdmin. For any product you sell to clients, or service you provide, you can setup a different name, description, and monetary amount in the system.
Once you have created a few services, you will always be able to bill your clients the right amount and provide the relevant receipt by choosing the appropriate service from a list.
To create/manage services, follow these steps:
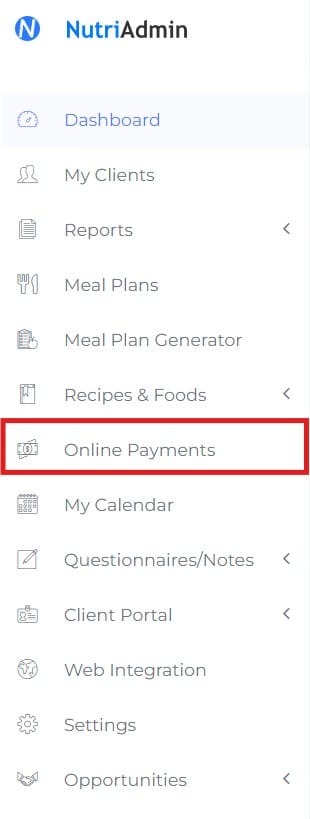
Step 1: Click on Online Payments.
Step 2: Click on the Services tab.

Step 3: Click on Create new service.

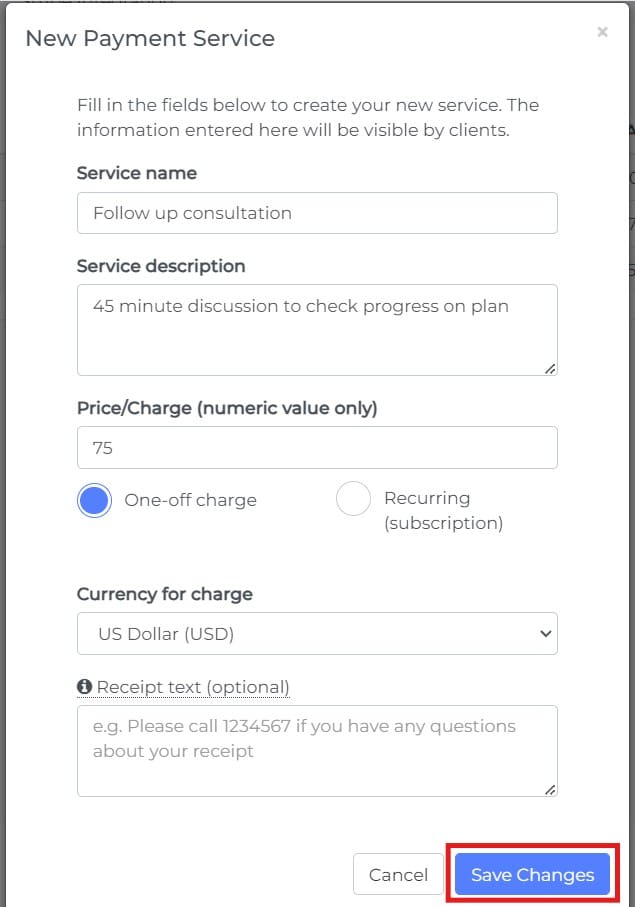
Step 4: Fill in the name, description, amount, and currency for your service. Take into account that the name and description will be visible to your client. Click on Save Changes once ready.
Your new service will appear in the services table and will be available to use.

Finally, you can click on the Actions button for any service at any given point.
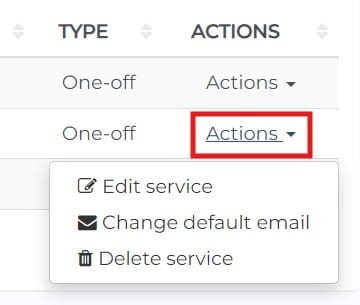
The Edit and Delete actions are self-explanatory. The Change default email action will enable you to change the default contents for the email your client will receive when you request a payment from him or her.
Advanced: To change the default email content for a payment email, you can follow this tutorial.