This tutorial will show you how to create a few meal plan templates for the diets you recommend to your clients more often. This process will enable you to re-use your meal plans with multiple people. The result will be immense time savings, since you won't have to start your meal plans from scratch with every new client.
You can watch the following 4-minute video, or follow the steps below.
Watch video tutorial on YouTube
Step 1: Create at least 1 meal plan which will contain your usual template for a diet. You can create this meal plan as normal, add all the recipes and foods you need, and then save it. It is useful to give add a keyword such as [template] in its name so that you can recognize this meal plan later.

In this example, we have created a 7-day template for a Mediterranean diet meal plan.
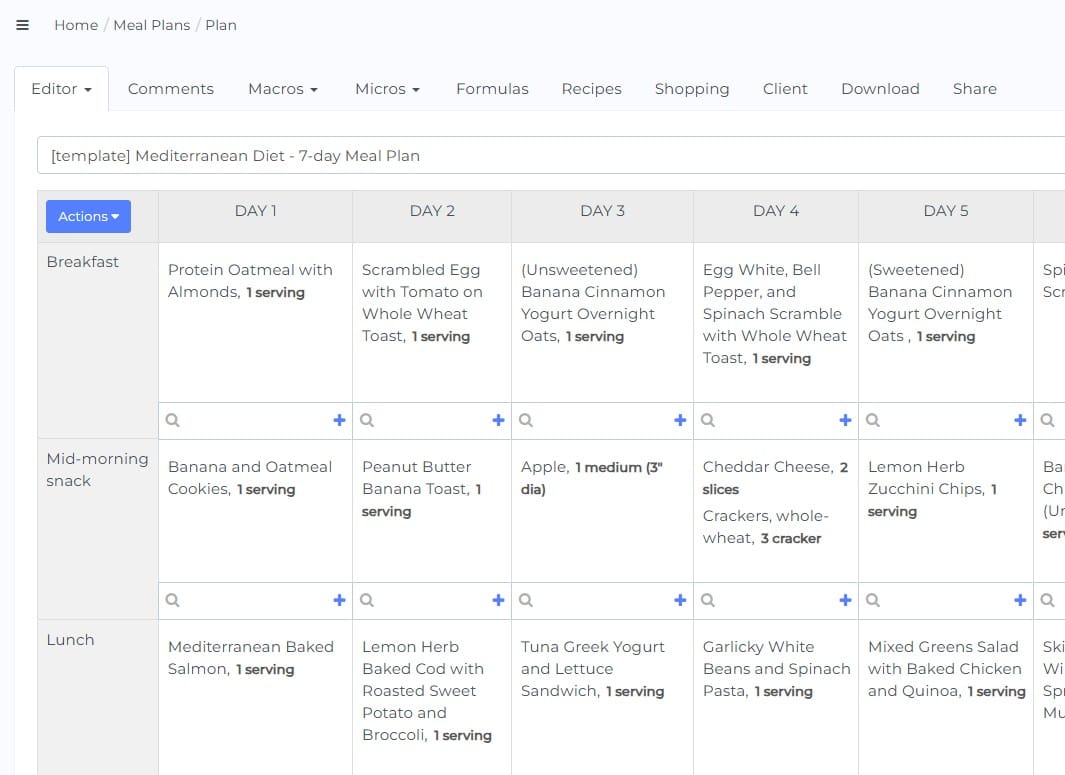
It is important to note that this is an example. You can create a meal plan for any diet you want (not only for Mediterranean diet). The important thing is to make your plan in such a way that it will be re-usable later for other cases.
You can choose a Sample client or similar for all of your meal plan templates.
Step 2: Repeat step 1 as many times as you need to create different templates for the different diets you recommend to your clients on a regular basis. E.g. one 7-day meal plan for low fodmap, another for athletes, a paleo diet, a vegetarian plan, etc.
If you have created a few template meal plans, then next time you get a client that would do well on a plan you have already created you will be able to copy the meal plan, customize details, and have it done very fast – since the bulk of the work will already be done.
When you need to produce a specific version of an existing plan for a client, follow these steps.
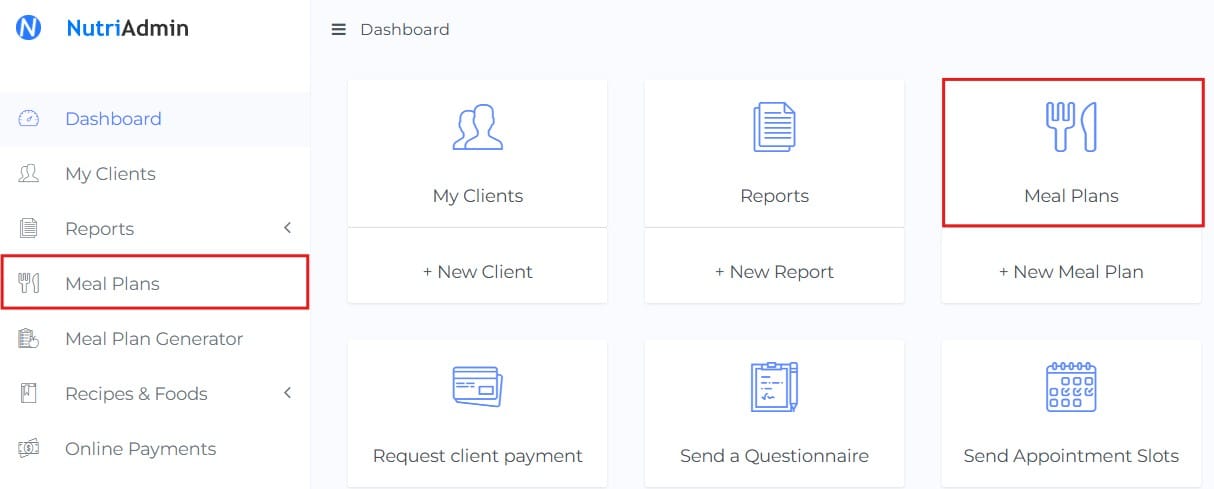
Step 3: Go to Meal Plans in your dashboard.
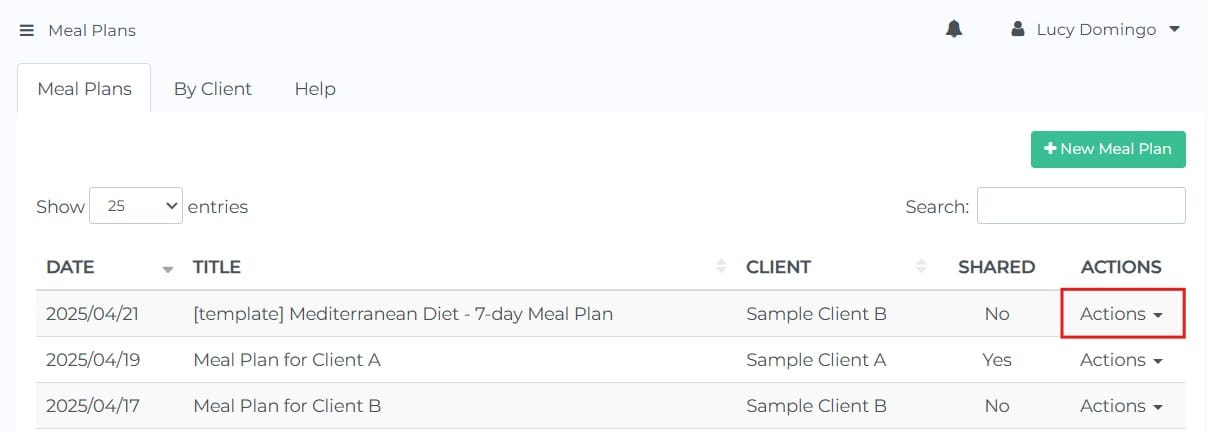
Step 4: Click on Actions for the meal plan you want to use with your new client (e.g. the Mediterranean meal plan created in the above example).
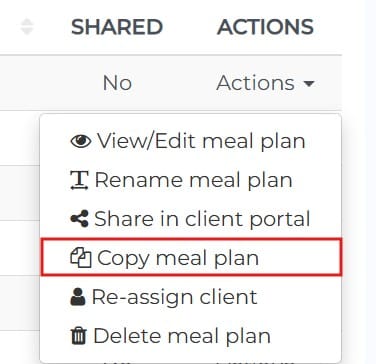
Step 5: Click on Copy meal plan.
Step 6: Choose a name for the new copy of your meal plan, as well as a client to link the new copy with.
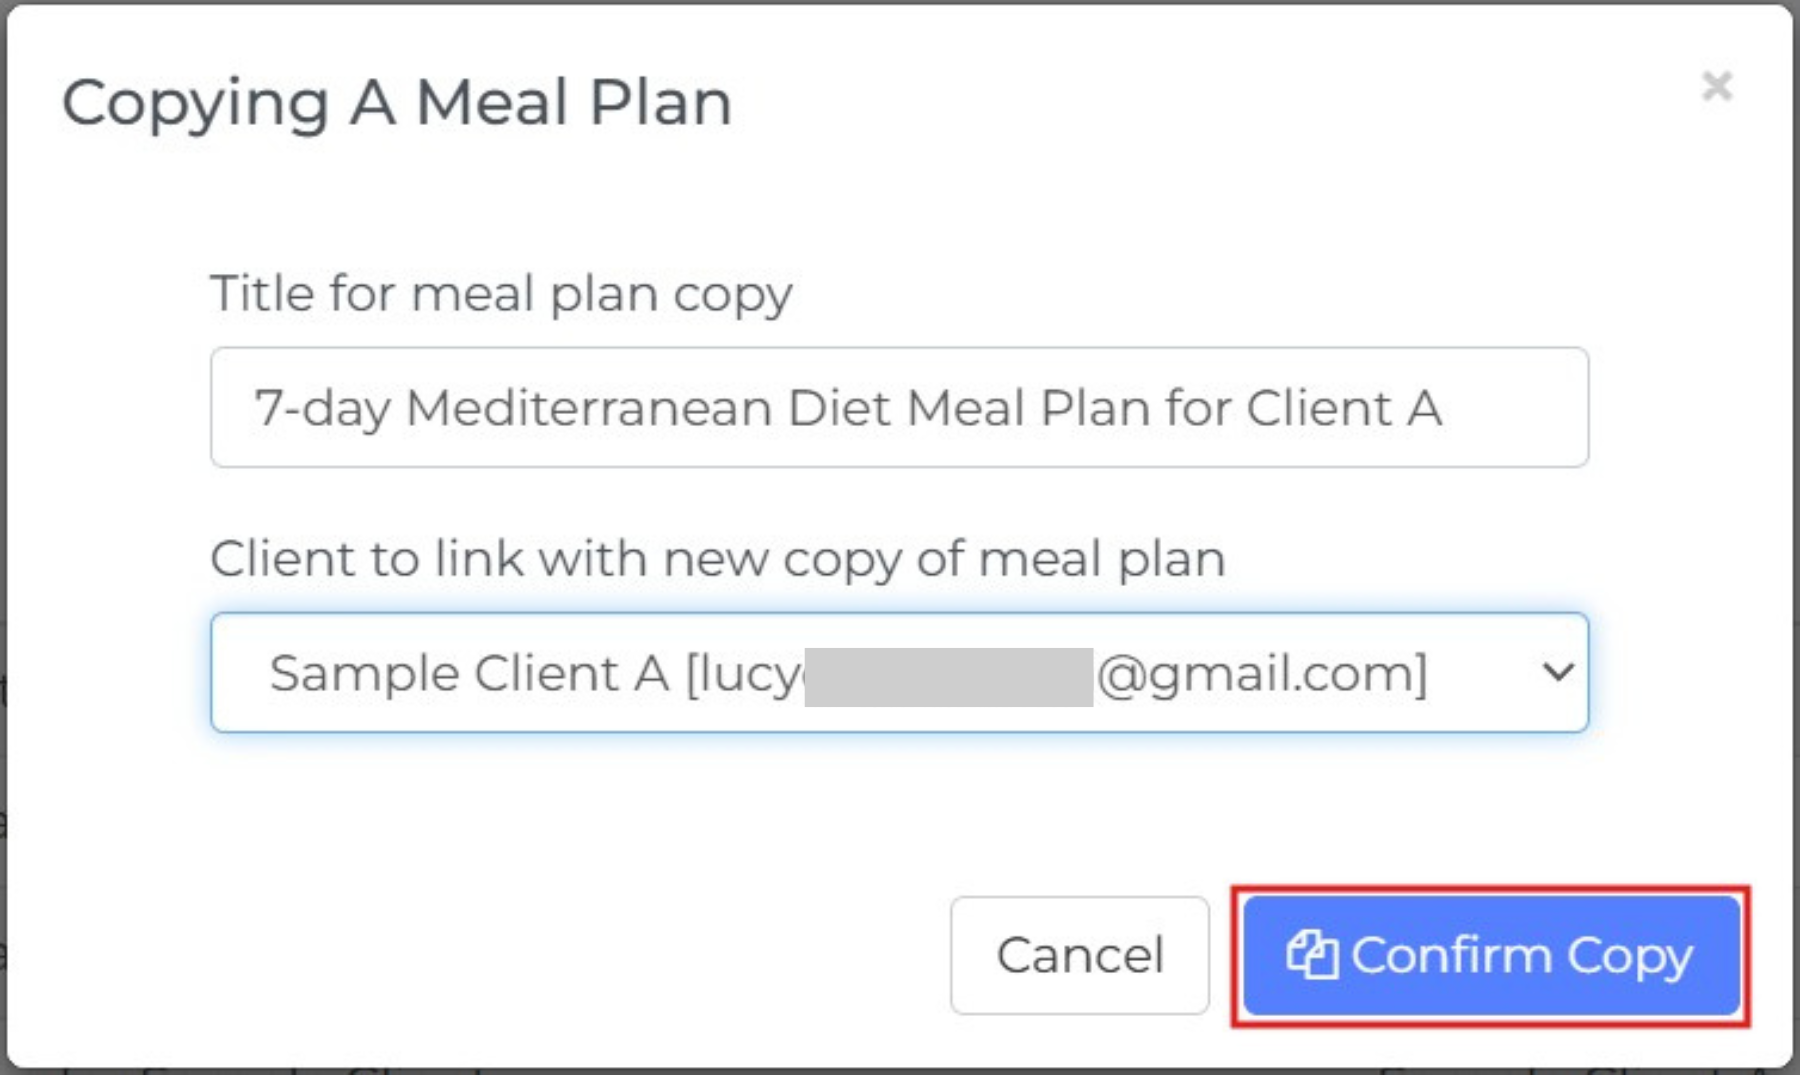
If you used a keyword such as [template], you should remove it here. This is because you are naming the new copy, not the original master template.
You should see a confirmation notification in a few seconds letting you know your meal plan has been copied.

Step 7: Find your new meal plan in the table, and click on its name to start editing.

This meal plan will be a copy of your original plan. The idea here is that you should have created a template that will be broadly applicable to most people following the intended diet.
You can now customize the details of the plan, e.g. change foods your client doesn't like or is sensitive to for better equivalent options. Then, you can save your changes and download your plan.
That's it! If you use this process well, you can save a lot of time in creating meal plans in the long run.
Obviously each one of your patients/clients is different, and his/her requirements will vary. However, it may be the case that the bulk of a particular diet is suitable for several people.
Depending on your working style, you may find the method described here inadequate (if all of your clients have very different needs) or very useful (if there are many cases where goals and requirements overlap.
You can take the methodology described in this article as an extra tool in your arsenal for meal plan creation, and use it when required. The choice is yours.