This tutorial explains step-by-step how to add a new field to one of your existing questionnaires and how to position the new field within the form.
You can watch the video below or, alternatively, follow the written steps with screenshots.
Watch video tutorial on YouTube
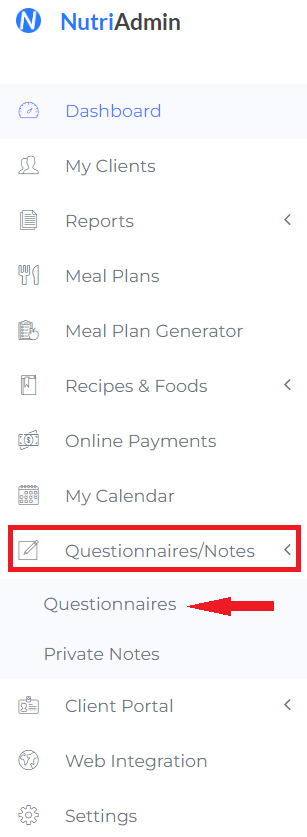
Step 1: Click on Questionnaires/Notes tab then select Questionnaires.
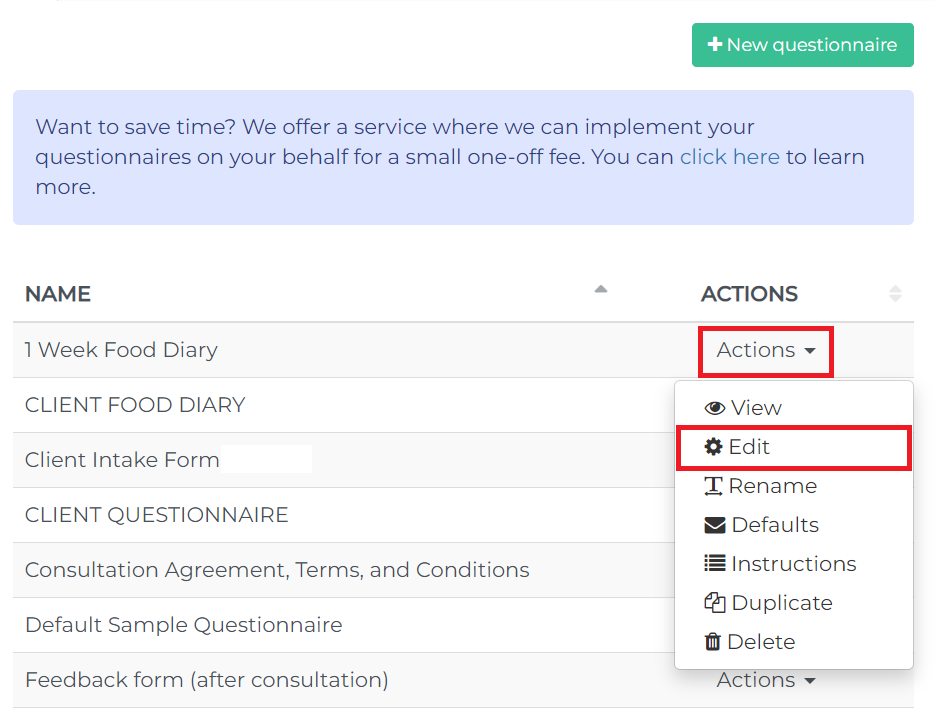
Step 2: Click the Actions button then select Edit to make changes to the questionnaire you want to modify.
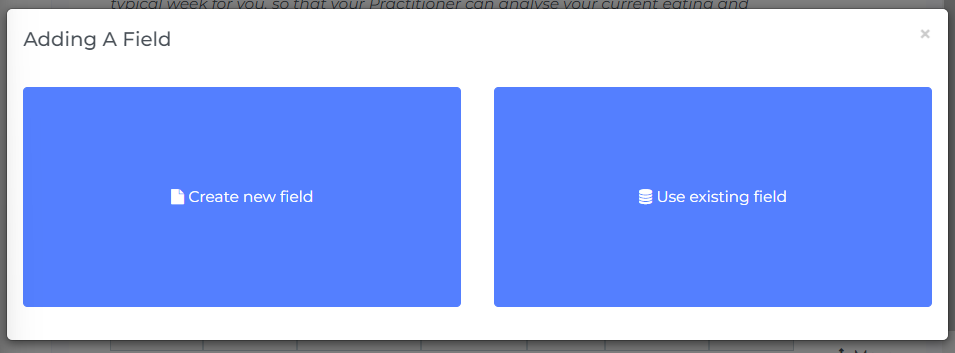
Step 3: Click on Add Field on the top-right of the screen. You can either add a new field or choose fields from your existing questionnaires.

Step 4: Fill in the form to create your new field. In this example, we will create a simple text box for clients to enter additional comments. We will place this box below a question about health history later, so that clients can add relevant context. Afterwards, click Apply.
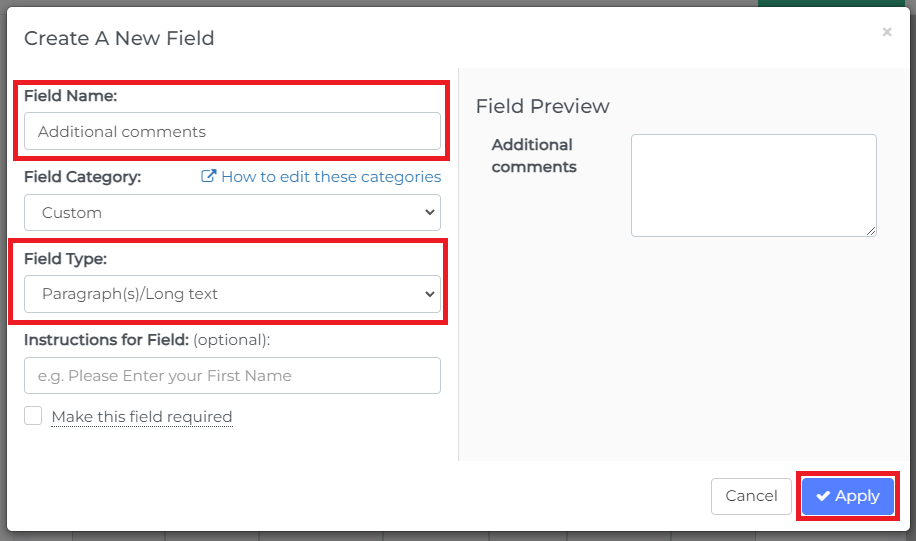
For an in-depth explanation of what are the different fields you can create in NutriAdmin, please click here.
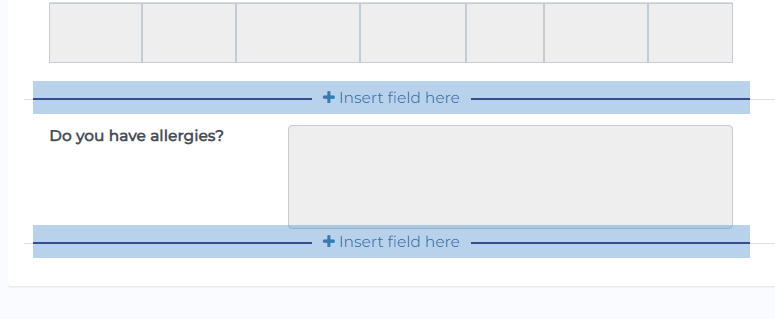
Step 5: You have the option to insert your newly created field anywhere needed.
Step 6: You can also change the order of fields by selecting the Move button and move it anyhere needed. As you click on Move, a series of horizontal green lines will appear on the questionnaire editor. Scroll until you find the desired position for your field, then click on Move field here.

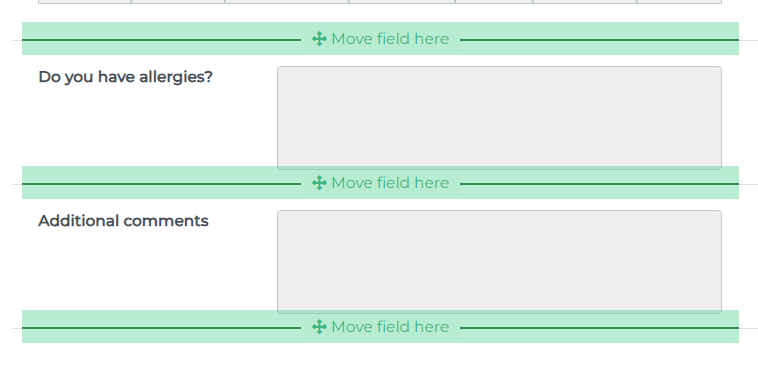
After a few seconds, your new field (Additional comments in this example) will be moved to the position you selected.
Step 8: You can repeat steps 3–7 many times until you have created all the fields you need, and positioned them appropriately.
The changes you made will be automatically saved.