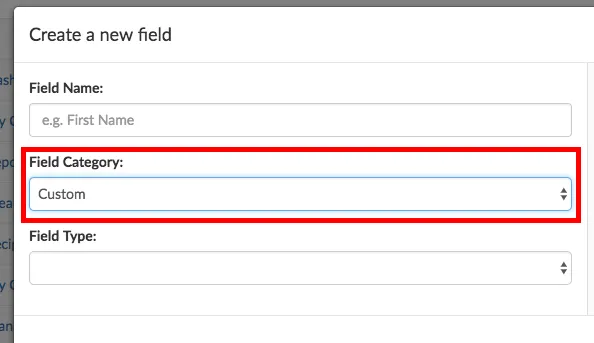
Follow these simple steps to manage your client data categories. If you do not know what these categories are, please check this other article first.
Step 1: Go to Settings.
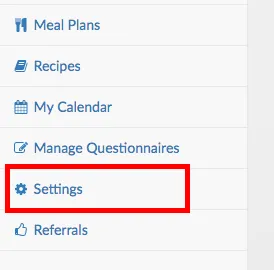
Step 2: Click on the Client Data tab.

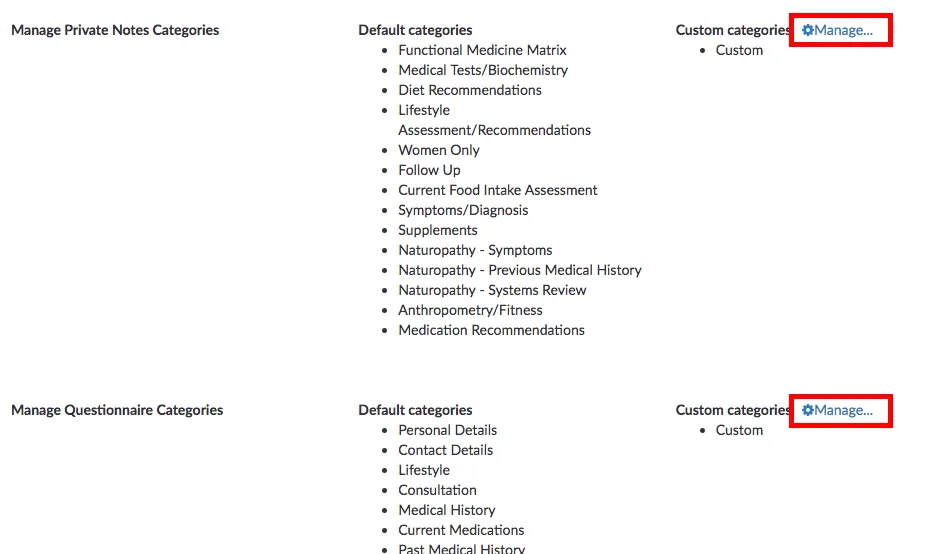
Step 3: You will see a list of your current data categories, separated by Private Notes Categories, and Questionnaire Categories. Moreover, you will see a further distinction between Default Categories (that you cannot edit) and Custom Categories. It is the later we are concerned with.
In order to manage your custom categories, click on Manage....
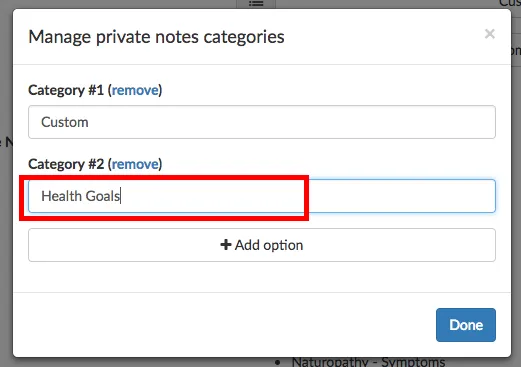
Step 4: In the modal window that comes up, click Add category to create a brand new category.
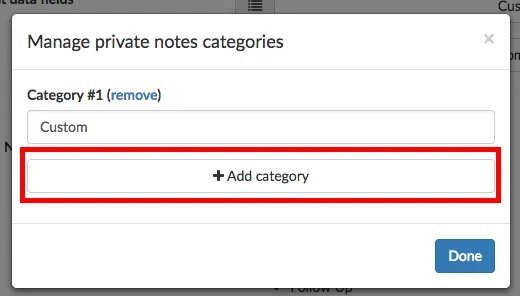
Step 5: You can type the name of your new category in the input box that will appear. You can also edit any other categories in this window.
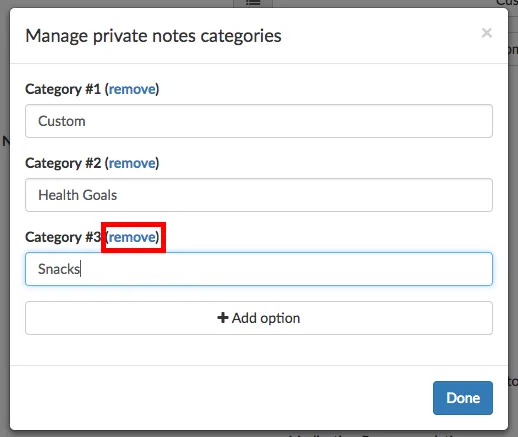
If you make a mistake, or no longer need a category name, you can click on remove.
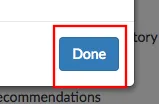
Step 6: When you finish editing your category names, click on Done.
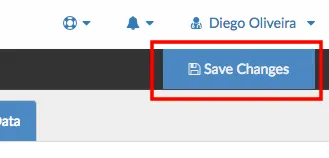
Step 7: Finally, do not forget to click on Save Changes on the top-right corner of the screen to record your new category names in the system.
Done! Next time you create some new questionnaire or private note fields, you will be able to choose new category names so that you can better organize your client data and produce reports.
