This article describes how to manage multiple consultations for a single client in NutriAdmin. The most common use case for the steps outlined below is recording follow up consultations with a client after an initial consultation. Your workflow may look like this:
- You have an initial consultation and record the client's personal details, medical conditions, and goals
- You have a follow up consultation after a month, and record progress towards your client's goal
- You keep having follow up consultations each month until the goal is attained
Sometimes, nutritionists and dietitians meet their clients only once. However, it's quite often the case that nutrition professionals maintain a longer relationship with clients. This relationship can span several months, or even years. It's crucial to keep track of your client's data over time in this case. That's what this article is all about.
Recording notes for the first consultation with a client
Follow these steps to record notes for your client when you first meet him or her.
Step 1: Create a new client record and open it (check this article if you do not know how). In this example, we are naming the client New Client (with email example@example.com)
Step 2: Click on the My Private Notes tab. You can start typing all your notes for this client here during your first consultation, or right after. Take into account that these notes can be customized to anything you want.
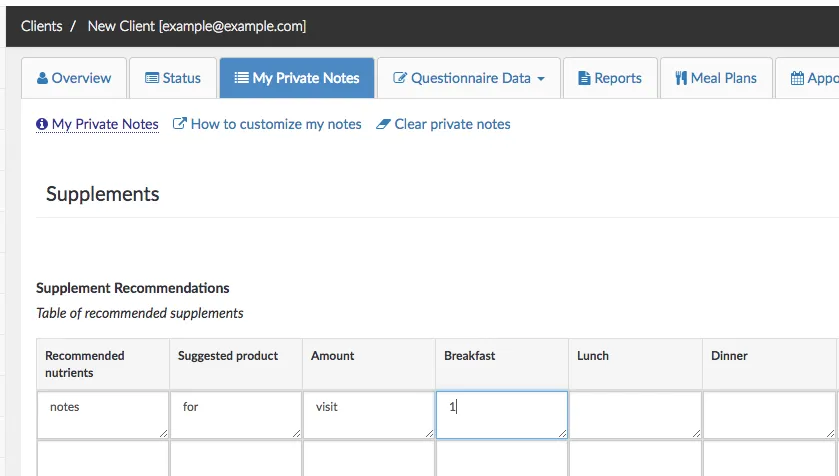
Step 3: When you are done typing, click on Save Changes on the top-right corner of the screen to record your Initial consultation notes.

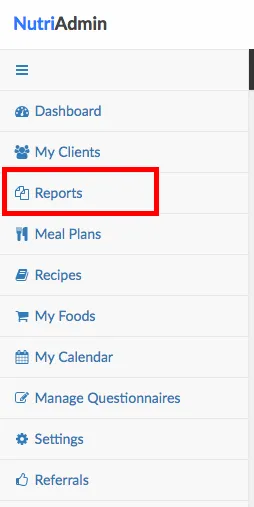
Step 4: Now, let's create a report with your Initial consultation notes. Click on Reports on the left menu.
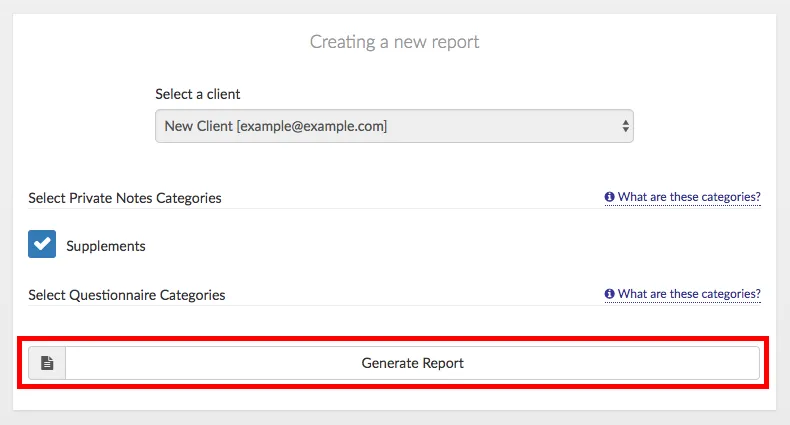
Step 5: Click on New Report on the top-right corner to start a new report.

Step 6: Select your client from the dropdown, then click on Generate Report.
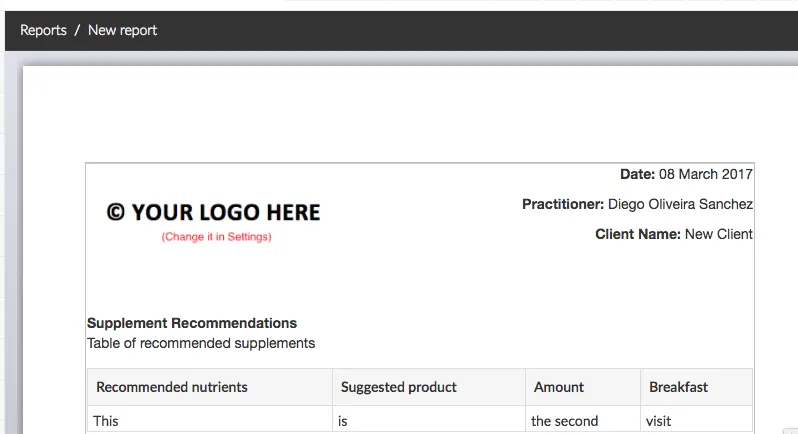
A new document will be created containing all the notes you took for the initial consultation with your patient. In this example, we only filled in one row of a table, but you can create a report with several pages including all your notes.
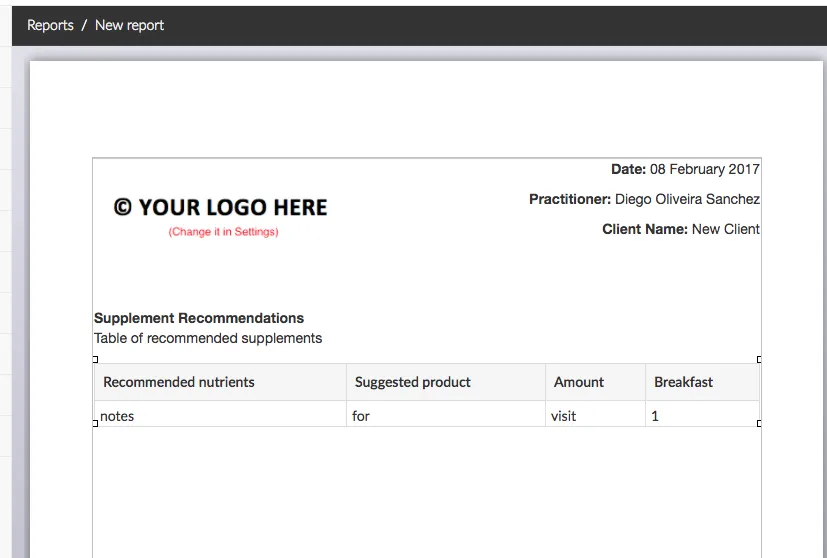
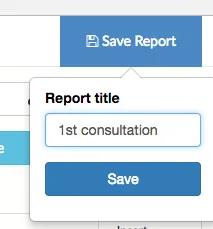
Step 7: You can (optionally) edit the document (add new content, delete notes, highlight important parts, etc). Once you are done editing, click on Save Report on the top-right corner of the screen.

You will get a pop-up window asking for a name for your report. It's recommended you give it a name such as Initial consultation, 1st consultation or similar. There is no need to add the client's name or date here, those will be recorded automatically in a separate field.
Step 8: Once you have saved your report, you can click on the reports icon on the left menu to see how it will look like when you want to access it in the future.

You will see your 1st consultation report on the table, along with the date, and client. You can store hundreds of reports over time, and search on this table or sort the columns to review your reports by client, by date, or by title.

The report you've just created constitutes a permanent record of your first consultation with this example client. You can follow the same process for the first consultation with any of your clients.
Recording follow up consultations with a client
Imagine you are meeting your client a second time, one month after your first consultation with him/her. Here are the steps to record this follow up consultation, whilst keeping a record of the initial consultation too.
Step 1: Go to the client's record and click on the My private notes tab. You will find all the notes you wrote during the previous consultation with this client in the past.
Step 2: Ensure you have created a report for the notes of the previous consultation with this client. This corresponds to the steps 1–8 mentioned on the first part of this article. The report with the Initial consultation notes is a record of your first meeting with the client.
Step 3: Once you've confirmed you have a report containing the notes of the previous consultation with this client, you can click on Clear private notes on the My Private notes tab, at the top of the screen.

Step 4: You will get a modal window asking you to confirm. Click on Clear private notes.
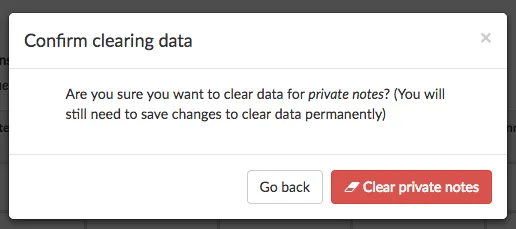
You will notice that all the tables and fields within the private notes tab are cleared

Step 5: Go ahead and write the notes for this follow up consultation. This can include progress since the last visit, or any new changes/updates. You do not need to fill every field you used for the first consultation again. Typically, a follow up consultation will be shorter and more focused on fewer questions.
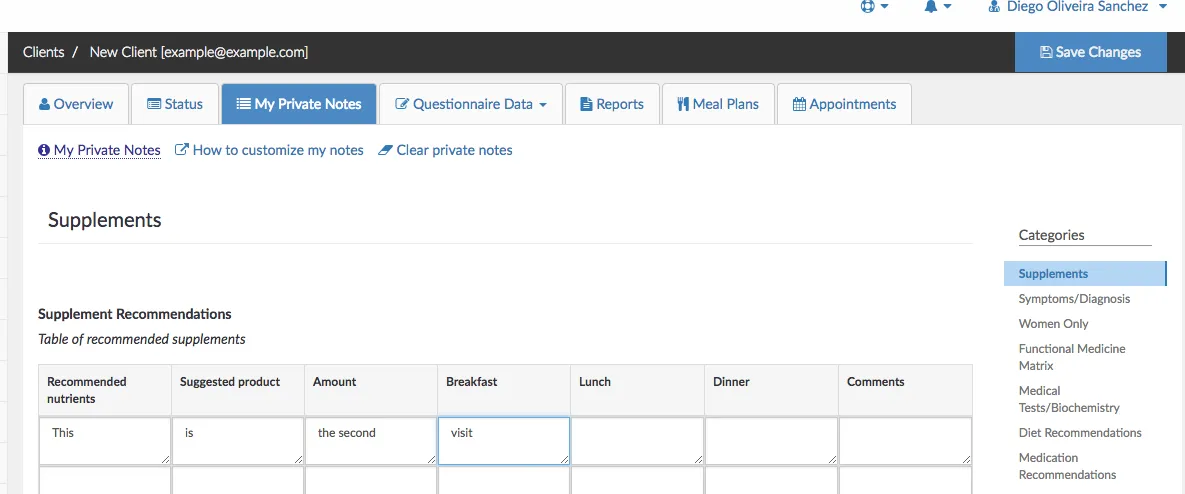
Step 6: Once you are done with the follow up consultation, click on Save Changes. Then, generate a new report for your client the same way you did for the first consultation. You will get a document with the updated notes and date.
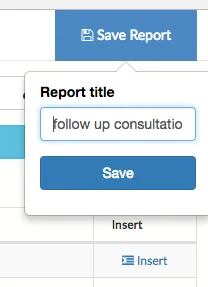
Step 7: Edit the report if necessary, and then click on Save Report. You can name the report something like Follow up, Consultation 2 of 6, or similar. It is advisable to choose a naming convention that makes sense to you, and to try to stick to it as much as possible to keep your reports more organized.
If you go back to the Reports view after saving, you will see that your follow up consultation report is now showing in the table (below the 1st consultation report created previously). You can now access both the notes for the 1st consultation, and any subsequent consultations with your client from the reports view. Each report is a permanent document that can be printed as a PDF, or consulted at any given time.

How to review a client's notes history
The easiest way to review a client's notes history over time is to open the client's record, and click on the Reports tab.

This tab will contain a table listing all reports for the selected client over time. You can have dozens of reports here over a period of years, all named and dated appropriately.

To review any of the reports, click on View in the table.